Saturday, March 1, 2014

ORGANIZING-Chores of the day

I made this several months ago to get the kids excited about doing chores, as well as help organize our chores for every day.  Kevin and I work pretty late though, so it is very difficult for us to do chores on a daily basis with the kids.  Kevin typically gets home around 9:00pm from work, and I get home after picking up the kids from daycare and after school care around 6:30pm.  And all we typically have time for is finishing homework, dinner (that's hopefully already made in the crockpot), bath, books and bed by 8:30pm. 


So..this does actually work really well to keep chores organized and get the kids excited to help... when we decide to use it (mostly on the weekends). LOL
But as you can see, there are Velcro patches available for Friday, Saturday and Sunday.  Once a chore is finished, the kids put the chore into the envelope for that day. 

**This does not include daily chores that we do like washing dishes, picking up, cleaning rooms, making beds, kitchen table etc.  It only includes the "big" chores like laundry (separated by who's laundry it is-kids, whites, mommy/daddy's, towels), taking recycling out, bathrooms, sweep/mop, vacuum, dusting.

That's how the Wrightsman family of 5 do it anyway.  :)  Do what works for your family.  This just makes chores a little more fun and organized.

Tuesday, February 25, 2014

Smart Sweet: Reese Peanut Butter Cups

Since my husband has been juicing to lose weight and get healthy, I've juiced twice so far in order to reboot.  And we've been looking up healthier recipes and alternatives.  I can say we have been craving less junk food/snacks.  But, I cannot stop this craving for chocolate!  I don't think I want to. haha!  So, we were scrolling through the recipes on www.rebootwithjoe.com, and I found a ton of healthier options for deserts!  I tried this one last night, and it's a hit!  Below are the ingredients, directions and nutritional facts.  This is extremely easy to make when you're craving chocolate/peanut butter. 

ingredients:
1/2 cup cacao powder
1/4 cup coconut oil
1/4 cup PURE maple syrup
1/4 cup all natural, organic peanut butter (we used almond butter)
12 cupcake wrappers

Directions:
1. mix cacao powder, coconut oil and pure maple syrup in a small bowl until a smooth consistency is formed.
2. place a small spoonful of the chocolate into the bottom of the cupcake wrappers.
3. add a small scoop of peanut butter to the chocolate spread and spread evenly.
4. top the peanut butter with a small scoop of the chocolate spread and spread evenly to coat the surface.
place the peanut butter cups in the freezer for about an hour.
5. serve once they are hardened and chilled.
6. if you are storing them to eat later, store in the freezer.


NUTRITIONAL FACTS COMPARED TO REGULAR REESES PEANUT BUTTER CUPS:

regular REESES: ---------------------------------------------smart sweet REESES
CALORIES: 210-------------------------------------------------130
CALORIES FROM FAT: 110-------------------------------------80
TOTAL FAT: 13g--------------------------------------------------9g
SATURATED FAT: 4.5g------------------------------------------5g
CHOLESTEROL: 5mg--------------------------------------------0mg
SODIUM: 150mg-----------------------------------------------40mg
TOTAL CARBOHYDRATE: 24g-----------------------------------11g
DIETARY FIBER: 1g----------------------------------------------3g
SUGARS: 21g---------------------------------------------------5g
PROTEIN: 5g----------------------------------------------------4g

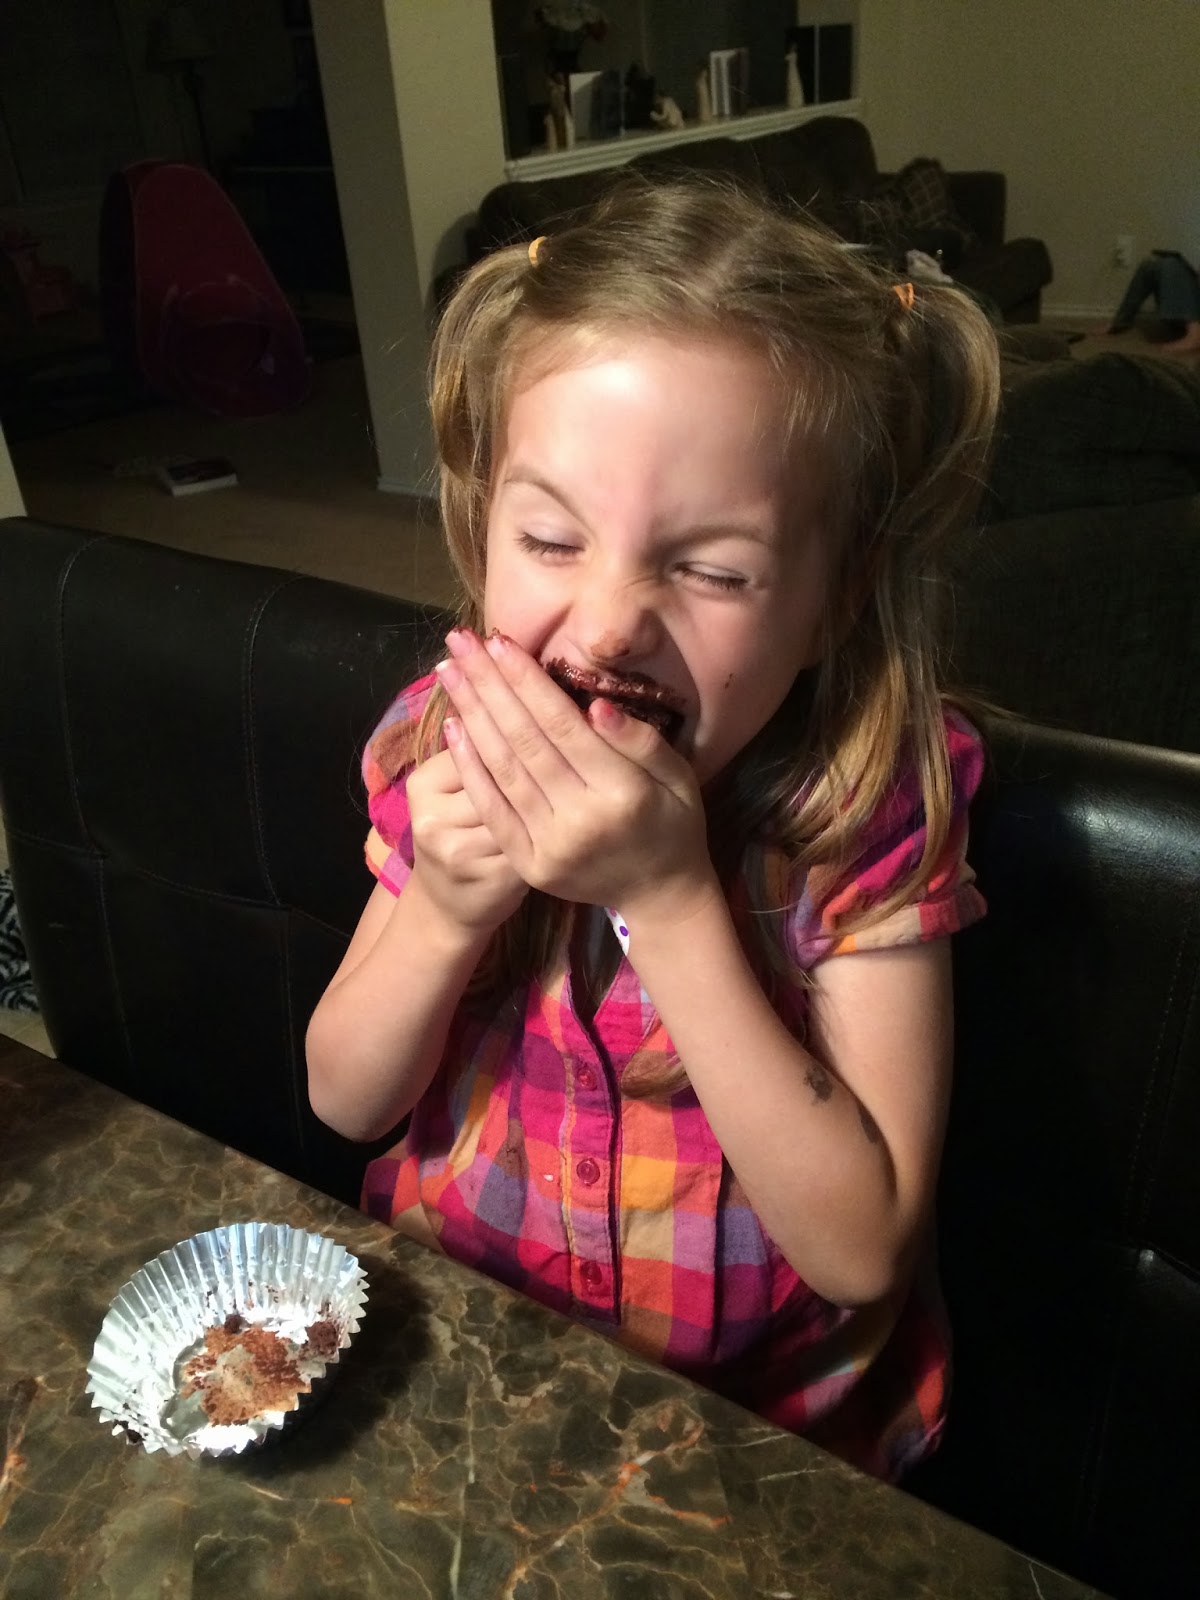
And below is the proof of their deliciousness..only because my kids are hilarious.  I was going to take a picture of my oldest daughter, Keira eating one as well, but she inhaled it before I could take her picture. :)  Enjoy!
They look crazy messy and aren't perfectly rounded, but it doesn't matter because they are delicious!


Monday, February 10, 2014

Valentine's Day Activities!

I've been putting off this post because I have soooo many Valentine activities to post. But if I want to remember them next February, I have got to save this.  Some of these activities are not my own.  I follow an awesome SLP the peachie speechie.  She posts and creates (with the help of her husband) some pretty awesome activities on a website I discovered last month teachers pay teachers. Her activities are all free to download.  You can search for so many things from different categories, grades, subjects, OT, ST, PT etc.  I love it!  Here are some of the activities The Peachie Speechie created for Valentines Day that I am also using. 

Valentine Heart Challenge

 
Above: This is still a work in progress, but will be finished tomorrow. For the kids that can't have candy hearts: I created this and am going to create a border and copies.  There are sticker candy hearts at Target in the clearance isle for $1.00 each!  The kids can place the stickers on top of the hearts. <3
  

I downloaded, printed off and laminated this Valentine Hearts Challenge for my speech kiddos.  The hearts are the perfect size for candy hearts (or there are also foam hearts at Target if you don't want the kiddos eating candy).  I also bought some fuzzy sticks and beads to create bracelets with the girls for every correct production. 

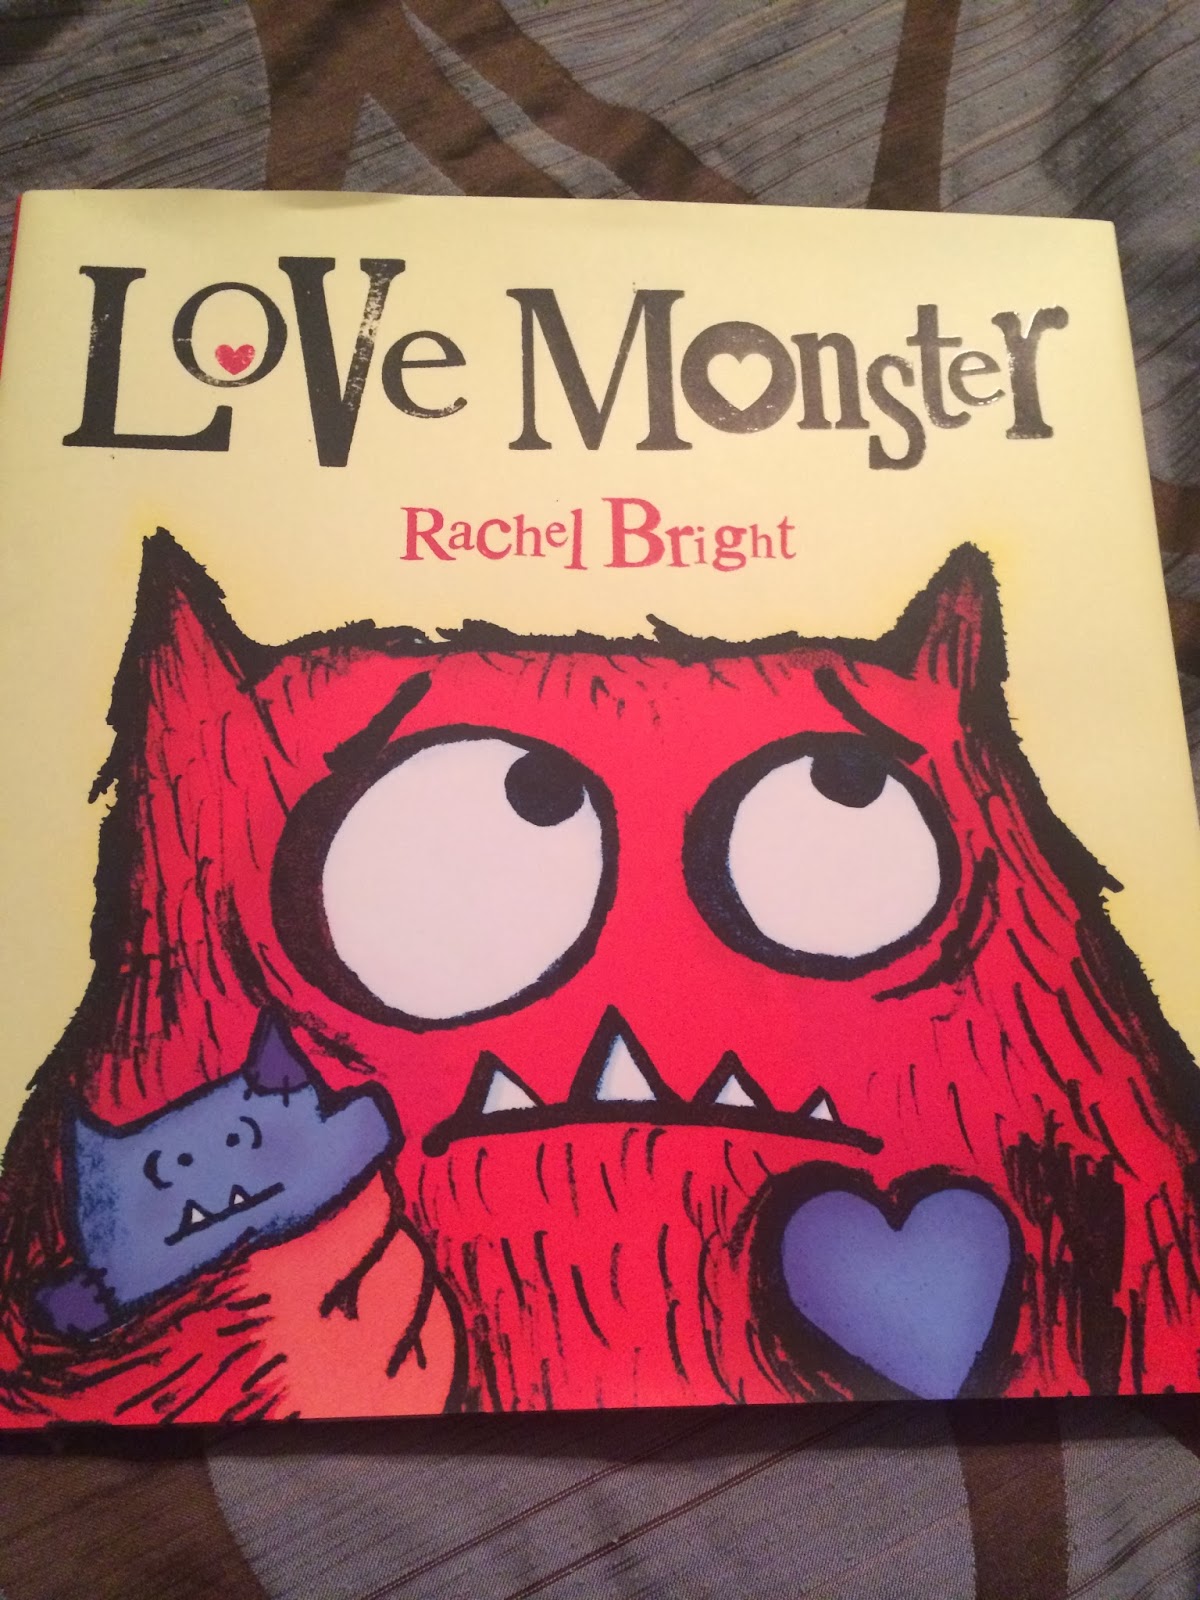
Love Monster
 
 
This book is simply adorable.  And right now, it's less than $8 at Barnes & Noble!  "Everybody loves cute, fluffy things. You know, like kittens and bunnies and puppies. But nobody loves a slightly hairy, I-suppose-a-bit-googly-eyed monster...do they? Come along with Monster as he looks for love-high, low...and even middle-ish.  This heart-tingling, let's-cuddle-up-together story is about how sometimes, when you least expect it, love finds you."  <3 Seriously cute book people... So after reading this book, I printed off activities The Peachie Speechie created!  Check them out and download them from her TeachersPayTeachers.com page! 


First page: shows what is included in the packet, what you can work on with your kids.


VALENTINE GUESS WHO
 
 
I printed off this activity from Teachers Pay Teachers.  It's great for asking/answering WH questions, descriptions, identifying/labeling, articulation etc..
 
PINK DIY PUFFY PAINT
 
Check out my previous post about DIY Puffy Paint to see instructions and ingredients.  I have plenty of leftover puffy paint from my daughter's "100 days of school" activity she used it for.  I'm now going to use it this week with my speech patients, and my own children while painting hearts on construction paper.  <3
 
Happy Valentine's Day y'all!


Wednesday, February 5, 2014

100 Days of School - DIY Puffy Paint

Cadence (our Kindergartner), had to make a "100 days of school" project on a poster board provided for her.  This year, we decided to go with 100 cookies.  The teacher specified that the items had to be in groups of 10.  So, of course we put 10 cookies on 10 "plates". 

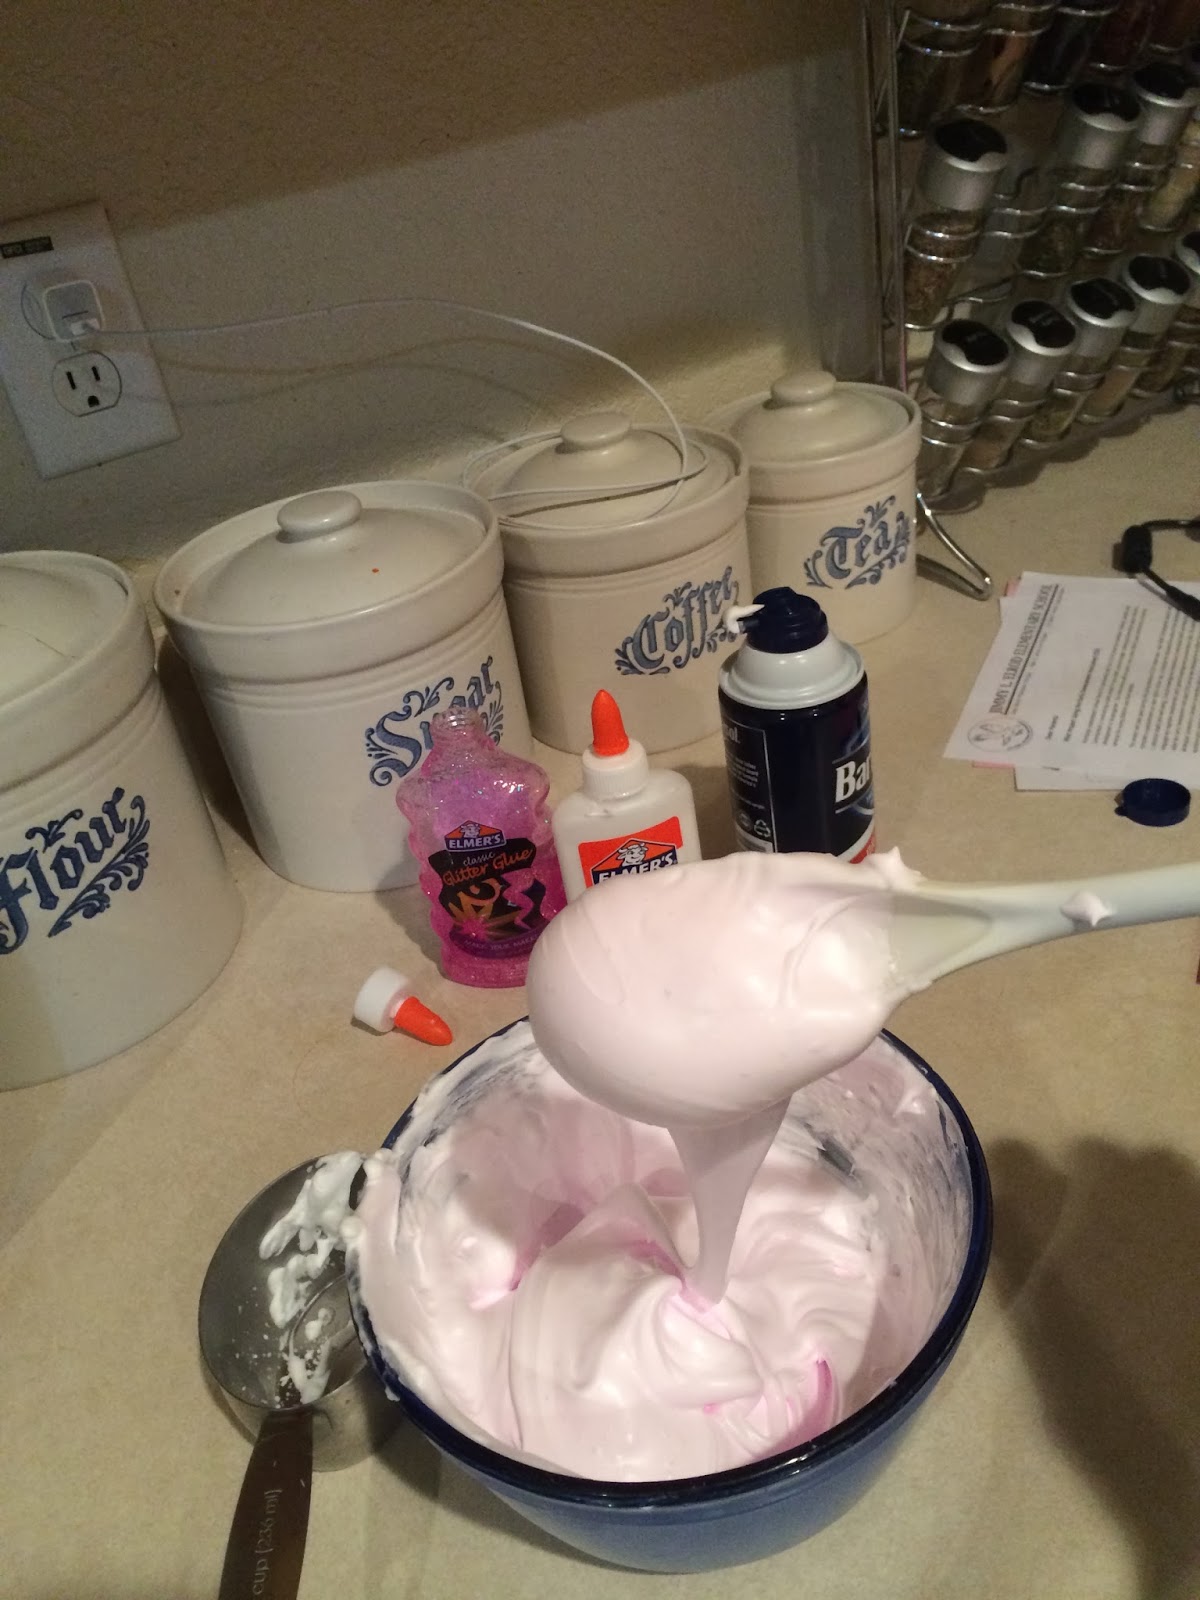
To make the project more interesting and fun, Cadence helped me make DIY puffy paint to put "icing" on her cookies.  So here is how you make it!  :) 

What you'll need:
1 bottle of glue
1 bottle of colored glue (or glitter glue)
1 can of shaving cream
 
I honestly just played with the ingredients to figure out what consistency I wanted.  I began with 1.5 cups of shaving cream, then just began stirring in the glue and glitter glue.  After Cadence colored 10 brown circles inside each plate, we added the "icing" with a Q tip onto each cookie.  We then added glitter to the cookies because...I mean...who doesn't want sprinkles on their frosted cookies? Right??


Cadence is so proud of her "100 cookies on 10 plates" project.
 

And with my leftover puffy paint, I decided to use it with my patients for Valentines Day!  You could use it to paint hearts, valentines, candy hearts, cute little teddy bears holding hearts, and other lovey dovey Valentines Day stuff....or just let your kids make a big ol' mess!....HAVE FUN!  The possibilities are endless.....  :)

Tuesday, February 4, 2014

Proud of My Hubby!

First of all, here's what my family has been up to.  It's been a CRAZY week since the last time I blogged!  My husband and I have been very busy recording and submitting videos and pictures to Joe Cross and his team (maker of the documentary on Netflix, "Fat, Sick and Nearly Dead") for his next documentary!  Kevin might be in it!  We'll see!  Saturday, Kevin and I Skyped with Joe (he was in Hong Kong at the time on his book tour!)  We still cannot believe we got to speak with him on Skype.  I spoke with him on the phone a couple of times as well.  (I can't believe we have his personal cell number...what is going on?!)  All of this happened from me sending Joe a private message about my husband on Facebook (I didn't think it was really him..maybe a fan that made a fan page.  No it was really him!)  He messaged me back the same day, saying he wanted to share Kevin's story on his wall, and it got over 3,000 likes and tons of comments saying how Kevin is an inspiration.  I should say now..Kevin has lost about 62 lbs so far following Joe's juicing diet and recipes, eating healthier and exercising in the last 5 months!  He wants to lose about 25 more lbs to get to 200 lbs.  Just wanted to say that I am SO proud of my husband!  And...it'll be pretty darn cool if he's in Joe's next documentary on Netflix!  We'll see!  Regardless, completely awesome that we got to Skype with him!  I'm sure Kevin will never forget that.

Friday, January 31, 2014

DIY Crayon Art

 
I wanted to share with you some of the colorful art I've made for the kids bedrooms. These two are my favorite.  They are very easy to make and inexpensive!
 
CRAYON ART

WHAT YOU'LL NEED:
A couple boxes of crayons
foam board (its only $1 at Dollar Tree)
hot glue gun
hairdryer
 
1. Take the crayon paper off all of the crayons. 
2. Hot glue the crayons in whatever shape/pattern you want on the foam board.
I laid them all out first before gluing them down to make sure that's where I wanted the crayons.  Then take it OUTSIDE!  You DO NOT want to do this next part indoors. 
3. You'll have to figure out what angle you want your hairdryer, but aim the hairdryer starting out on low heat at the crayons.  The crayons will melt slowly, and run in the direction you are pointing the hairdryer.  That's it!
4. I also hung the crayon art on the wall using Velcro Damage-free hanging strips. 
 
Happy crafting/melting! :)

Wednesday, January 29, 2014

These are a few of my favorite...apps!

I have made a  list of my all time favorite apps for the iphone/ipad...it was reeeeeeally long!!  So, I tried to shorten my list to my top 5 apps...I couldn't do it!  I didn't realize that I have THAT many favorites for my speech kiddos and my own little munchkins!  So..I've decided to ONLY tell you about one of my favorite apps that I've been using a lot this week...for now. I'll share more later. There's just too many apps and too little time...

Lazoo: Let's Color! *FREE*  (there is also Lazoo Zoo, Lazoo: Squiggles!, Lazoo: Miku's Picnic - ALL ALSO FREE).  Lazoo's Magic Stickers: $1.99  But for now, I'm just going to tell you about Lazoo: Let's Color!  The others are also AWESOME.  Please check them out if you're interested.
My kids and patients love this app.  There are 34 unique drawing pages.  It promotes creative thinking.  You can draw on the screen, and your drawings come to life when you press "go".  It also includes a Lazoo cartoon.  It's great for following directions, problem solving, creativity, talking about actions, answering WH questions, pronouns, vocab, articulation, expressive/receptive language...so..many..things!
Above shows a child holding a hose.  It asks: "what is coming out of the hose?" And you can draw whatever you want to come out of the hose.  You can choose colors, how you wish to paint (chalk, paintbrush, marker etc.) You can also add stickers, as shown below.  You then press "go", and the picture will "come to life".  ENJOY!!